
Upload PowerPoint Slide |
|
Before you enter the Wimba room, upload your PowerPoint slides. Note: Wimba converts your PowerPoint Slides to images. Any animation or slide transitions will be lost upon the conversion. Any corrections will have to be made to the original PowerPoint Slide and the slide re-uploaded. Changes can not be made to slides once they are uploaded to Wimba. |
|
| Click on the "Add & Manage Content" button in the tool bar. | |
 |
|
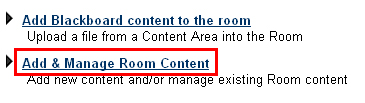
Click on the "Add and Manage Room Content" link.
Note: The "Add Blackboard Content to the room" link does not work. You will have to add PowerPoint files directly from your computer. It is highly recommended that you create a folder for each subject or PowerPoint file for easier organization |
|
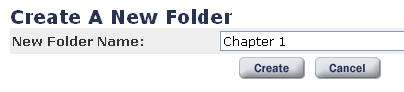 |
Type in a name for the folder and click the Create button. |
Click on the folder name to open the folder. |
|
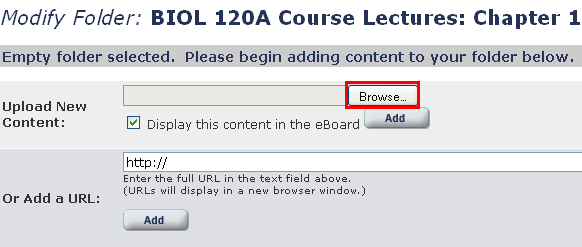
Upload PowerPoint To upload a PowerPoint file, click on the Browse button. Navigate to the file on your computer and click Open. Click the Add button to add the file to Wimba |
|
 |
|
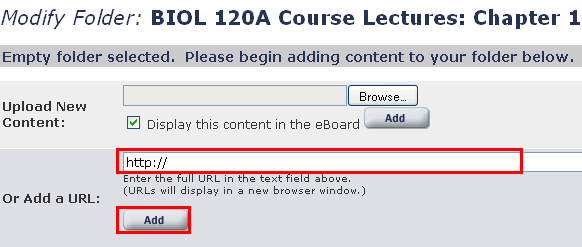
Adding a Webpage To add a webpage link to Wimba, open another browser window and navigate to that webpage. Copy the URL from the address box and paste it into the URL box. Be sure to include the http:// in the URL or the webpage will not open. Click the Add button to add the URL to Wimba |
|
 |
|
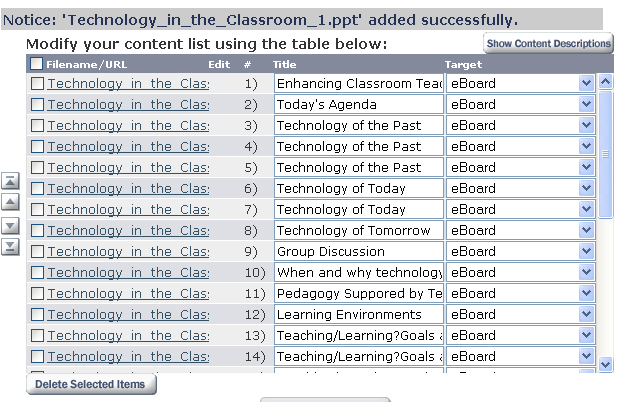
Your content will be listed in the order that you have added it. Filename/URL: the name of the PowerPoint file
Select the targets as you wish. You can return to this window at anytime to change titles or targets or add additional content. To move images up or down, click the check box to the left of the image. Using the arrows to the left, move the image up or down the list. To delete an image, click the check box to the left of the image to be deleted. Click the Delete Selected Items button at the bottom of the window. Note: once a slide is deleted, it can not be retrieved without upload it again from the PowerPoint presentation. |
|
Click on the Save Changes button at the bottom of the window. Close the window by clicking on the "X" in the upper right corner of the window. Note: There is no close button in this window. |
|
 and navigation. To create a folder, click on the "New Folder" button.
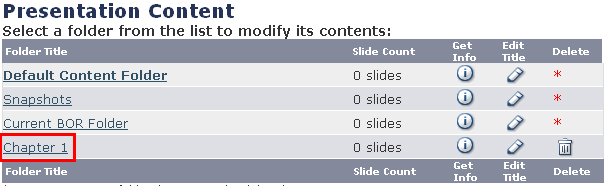
Next...Enter the Wimba Room
| Previous | Page 3 | Next |
For questions or more information, please contact Laura Million at 618-650-5500 or email me at lmillio@siue.edu
Copyright © 2010 - Laura Million
Last Updated:
02/04/2013 19:29:34