Initial Set Up
If you've never set up Time Machine before, when you first connect your external hard drive to your Mac a window will pop up asking if you'd like to use the drive to back up to with Time Machine?

You can click the "Use as Backup Disk" button to have Time Machine automatically start using it to back up to. If the window does not pop up or you chose one of the other options, it's still easy to get Time Machine set up.
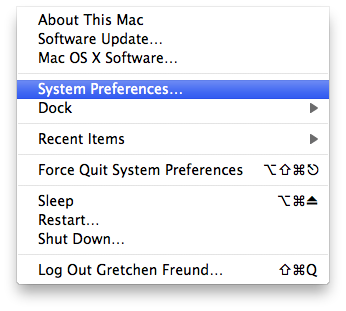
Simply go to your System Preferences which can be found by selecting the Apple icon at the top left of your screen and choosing "System Preferences..." from the pulldown menu.
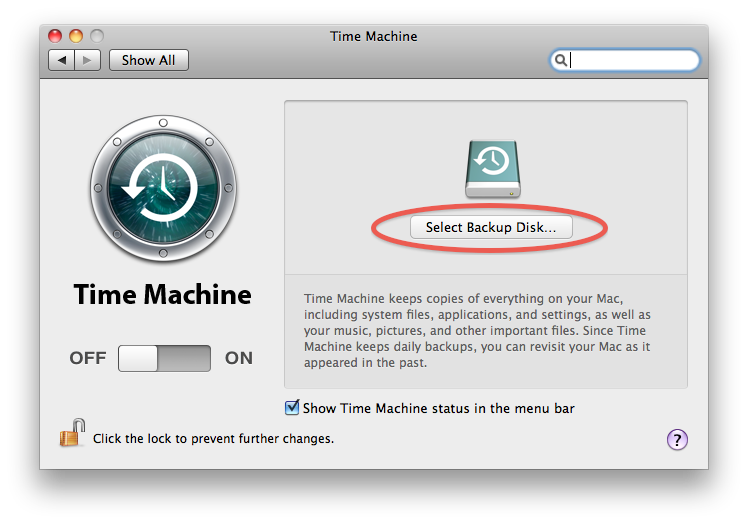
Once the System Preferences window opens, click on "Time Machine".

The Time Machine preferences will open and in this window you need to press the "Select Backup Disk..." Button.
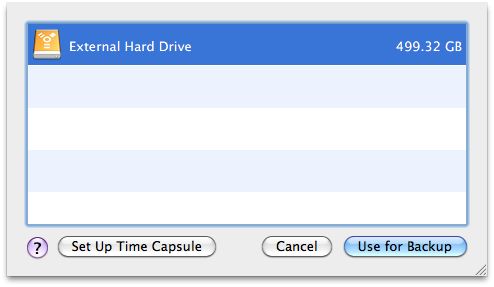
A window will slide down listing all the drives that are available to be used for Time Machine backups. Select your external drive and press the "Use for Backup" button.
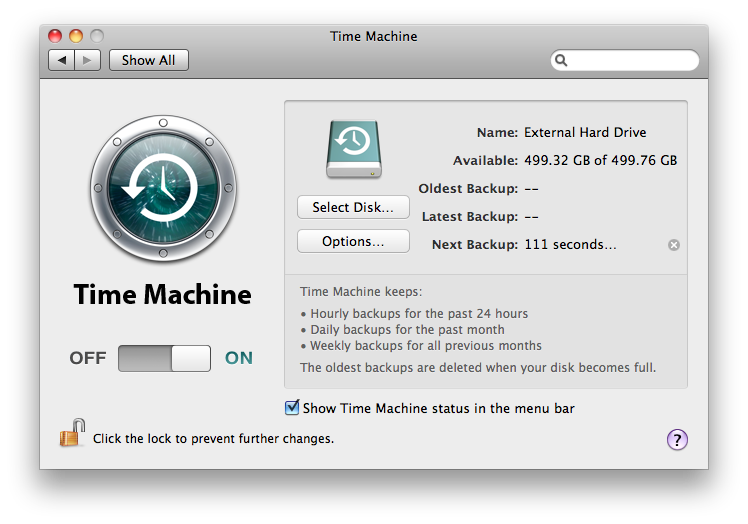
And that's it! You'll notice now on the Time Machine preferences the switch under the Time Machine icon is now set to "ON" and your external hard drive is now listed. Once the backups begin, the Oldest Backup and Latest Backups will also be listed here. Your first backup will automatically start about 2 minutes after you select the drive to use.
You can just stop here and sleep safer knowing your Mac is now automatically being backed up. Of course there are plenty of other options in Time Machine. Next I will show you how to manually start or stop a backup.