Home |
Supplies |
Steps |
Varieties |
Assessments
|
Now that you have gathered your supplies, it is time to grow your pumpkins. You will want to plant your seeds during the last week of May or first week of June to ensure that they are ready by the middle of September.
Planting:
-
First things first, you will need to find a piece of land that is large enough that the pumpkins can grow.The land should roughly be forty feet by forty feet.
-
Next, you will have to till the ground using a walk behind rototiller. Start up the machine and pull the level to begin moving forward. Work up the ground in a back and forth motion, similar to motion of cutting grass.
-
Fertilizing the ground is the next step. For this step you will need to use a Fertilizer Spreader to spread the fertilizer. Add the fertilizer into the spreader and hit the button. It is a similar process of fertilizing grass to grow.
-
Next up, planting the pumpkin seeds. You will need approximately ten seeds. Every four feet in the center of your forty feet (step one), you will poke a seed in with your finger about an inch deep. Make sure the seed is covered with dirt.
-
Wait for it to rain. After about seven days, you should start to see something coming up.
-
Then use the hoe to hoe the weeds out of the pumpkins once a week. This needs to be done because without this step, the weeds can over take the pumpkins, crowding them out, and will result in no pumpkins.
-
Watch them grow.
We have created
a short video to demonstrate how easy it is to plant your
own pumpkins. 
Harvesting:
-
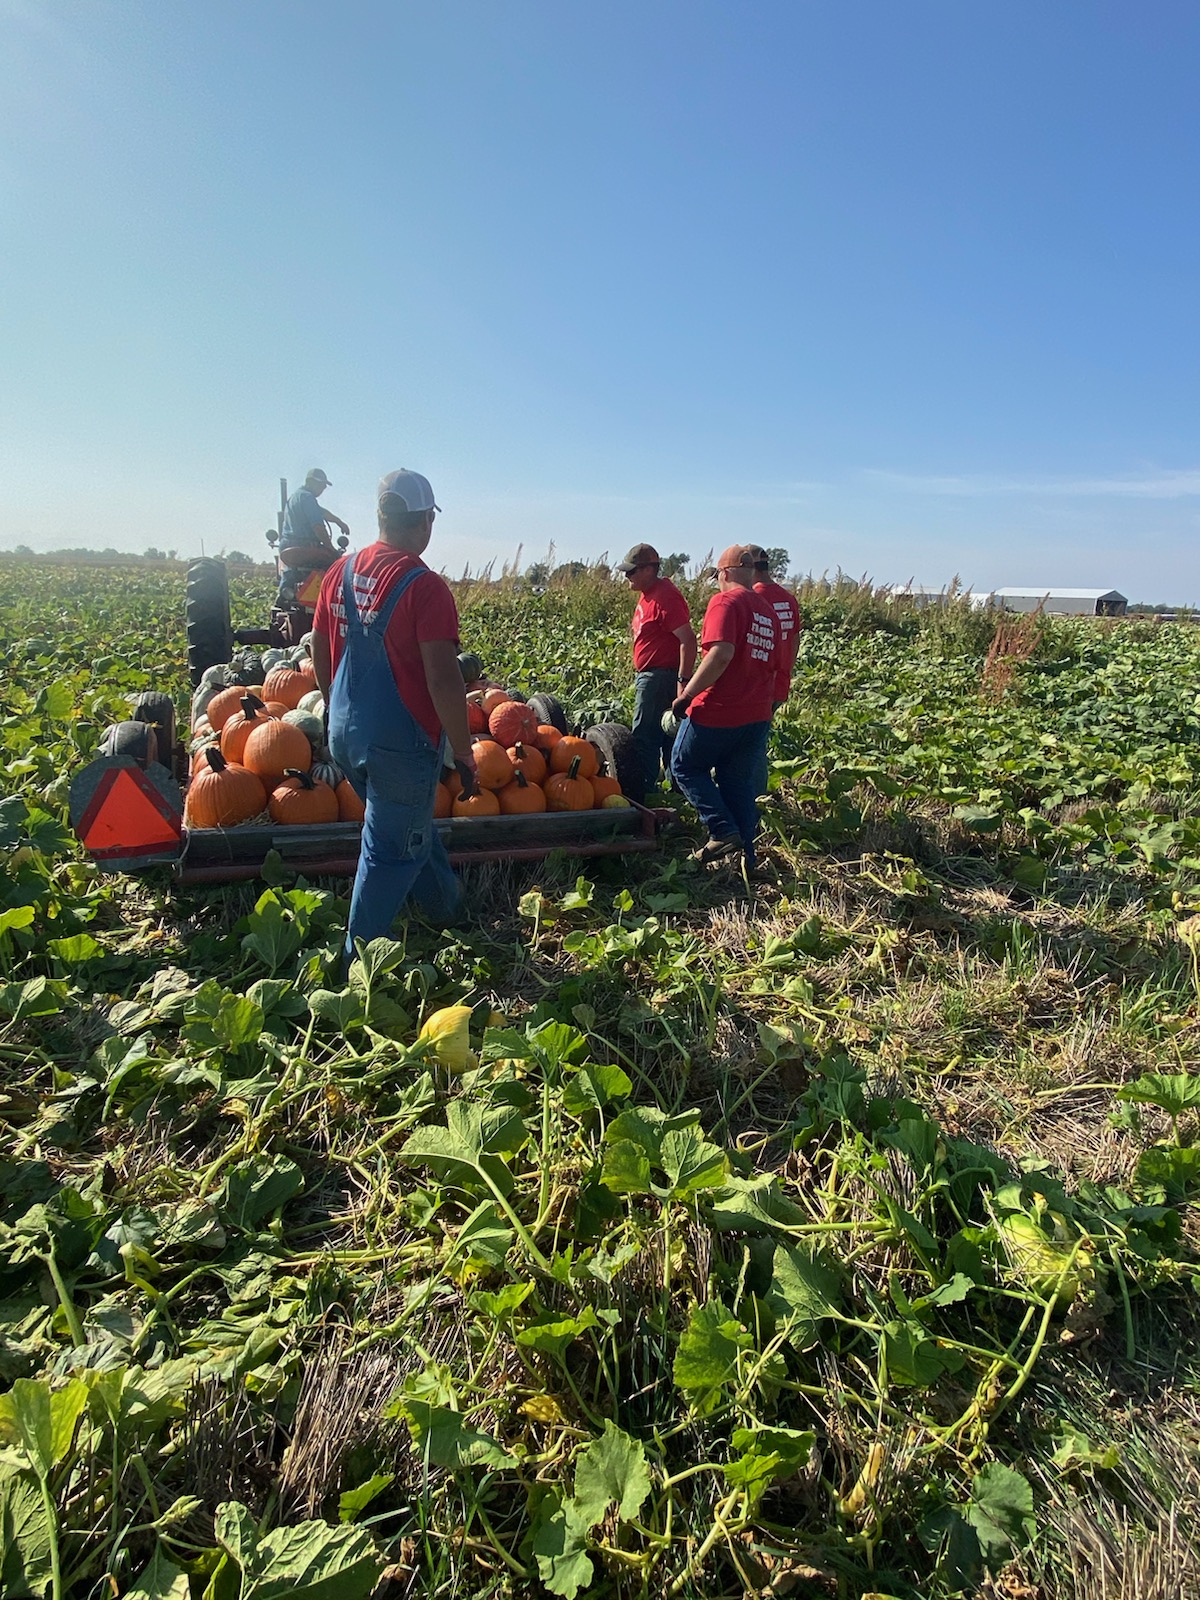
By the middle of September, you will see orange pumpkins and they will be ready to harvest.
-
When the pumpkin is ready, you will need your clippers/pruning sheers in order to cut the pumpkin from the vine. The best place to cut the pumpkin is right at the vine. You will want to keep the vines as long as possible.
-
Be sure to check the sides of the pumpkin to ensure that you are not picking a rotten one.
-
Use a wheel barrel to carry your pumpkins from the field to their destination.